Tuesday, December 21, 2010

More progress in the kitchen


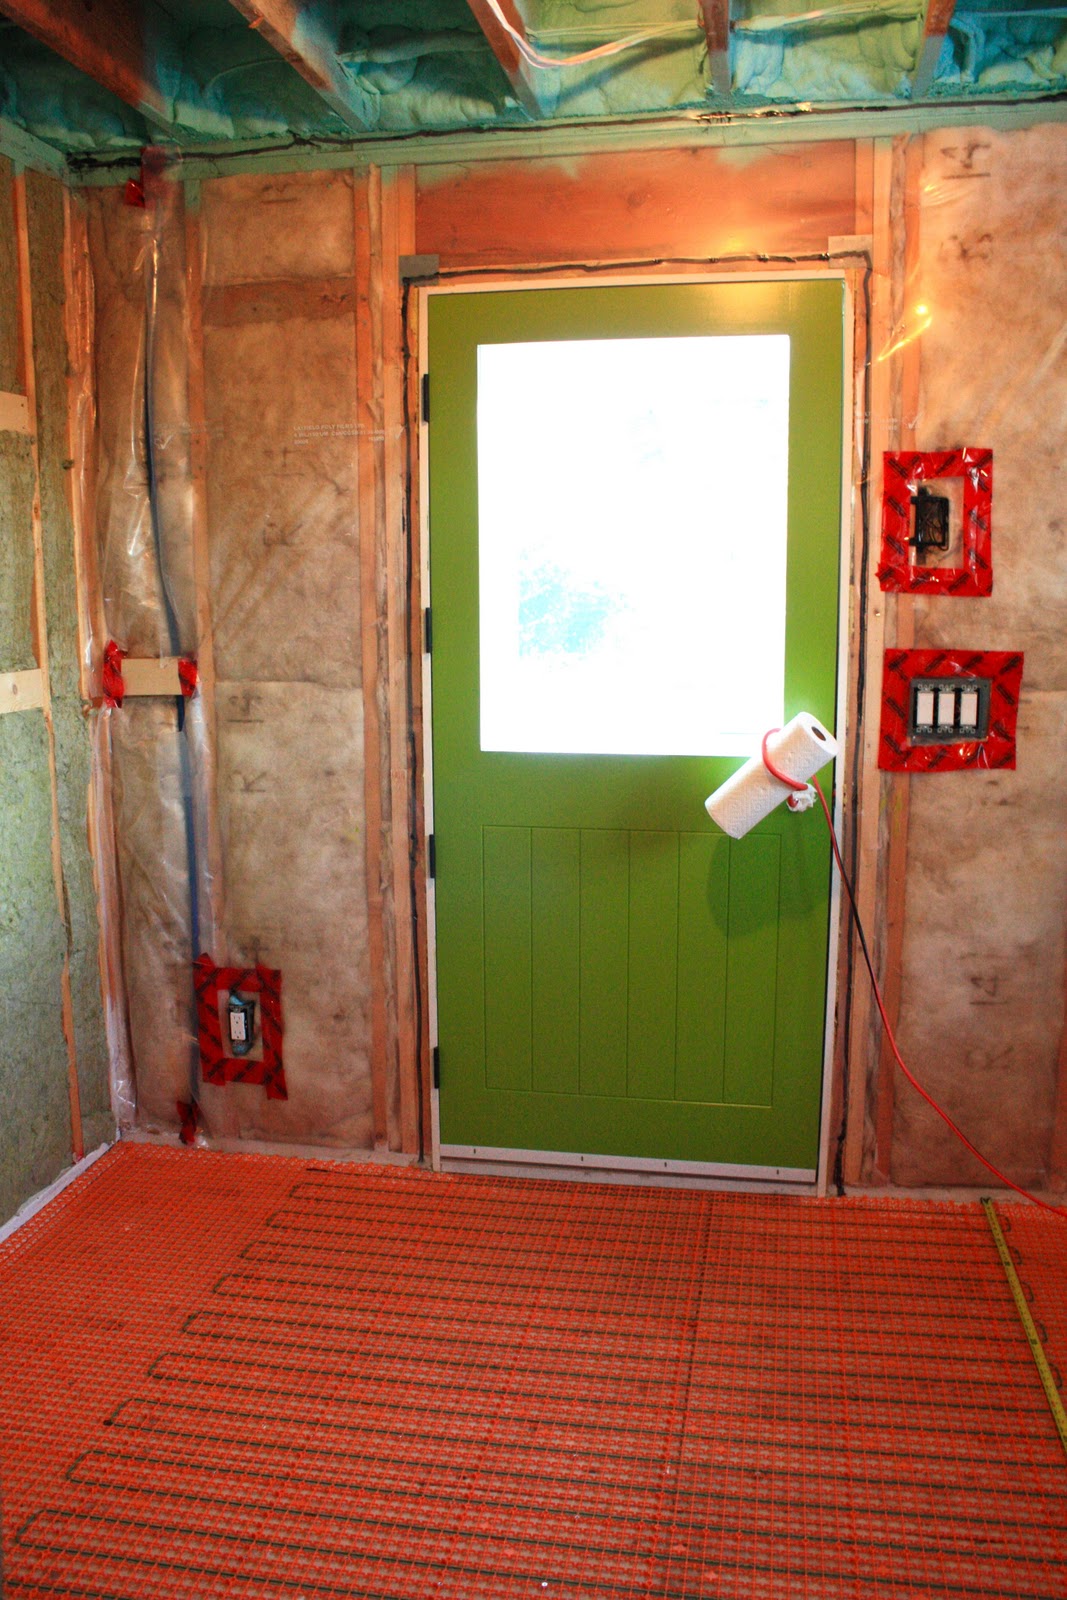
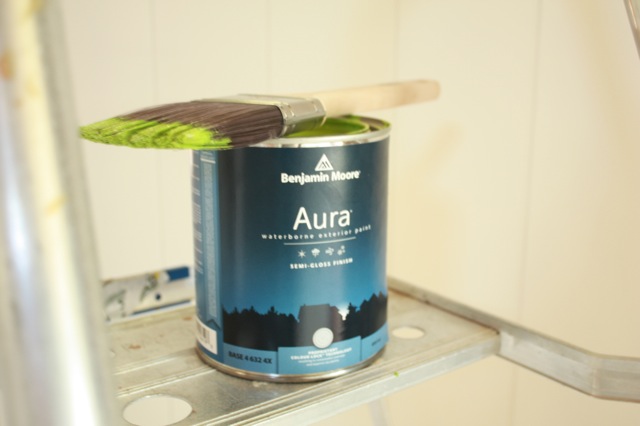
Helloooo lovely kitchen! You can see the progress, and a bit more of the grand plan with these photos after the second day of installing the cabinets.

For the past 16 months we've been using a combination of a small bar fridge that you have to get down on all fours to see what you have in it, and our old fridge which is housed outside on the porch (tucked away on one of the sides to keep it looking classy here, ha!). This might explain why I love this fridge so much; it's indoors for one, and it sure is purdy. Oh, and it has an ICE MAKER. This is big news for me, I've never had one. Living the life now...


And here's where the island sits, and it will house the cooktop, pop-up fan, microwave, and compactor.

Friday, December 17, 2010

Cabinets in the kitchen

We've been planning the kitchen since August, and it's been relatively smooth getting to this point (a lot of decisions, haggling and a smidge of stress). One thing I should note is that I'm horrible at making decisions -- I want things that I love to the point that I'm jumping up and down excited about them, every time I see them. Not high expectations at all, right? You'd wonder why on earth I'd want to renovate a house when I know I'm like that. 

But I digress.

With this kitchen, we wanted drawers galore, because in our last house, we had horrible corner cupboards that were so deep your hand crossed into another dimension searching for something inside of them. Another winner was the cupboard above the microwave that held all of the plastic wrap boxes that liked to tumble out at you when you opened the doors.

We've had to work with a bit of an odd shape, with the original layout just being a small galley-style kitchen (if you'd even call it that, I prefer festering rat nest that they used as a kitchen), adjoined to a family room that was long and narrow. It made no sense to us to cram a small kitchen in where it was originally, so we scooped up the family room space to make an 'L'-shaped area for cabinets and the island.

So, here's the start of the good (and pretty) stuff, hurrah!

Where the island will live.
Appliances huddling up in the future kitchen table area.

Wednesday, December 1, 2010

On to the mudroom

Seeing as we have a washer and dryer sitting in storage, we decided to hit the mudroom next so we can stop using the in-law's laundry facilities (which we've been doing for the past 15 months). The same orange waffle material was put down on the floor, and wiring applied for this room's heat. We don't have any wall space to mount a heater, so floor heating is a good option for us here.

The tile we're using is a flattened pebble type of thing, I wanted something kind of different, and something that could withstand a lot of dirt without looking dirty right away. This floor needs to work with us, not against us.*

*Well, installing it was a different story. That's a whole other post.

Monday, November 29, 2010

Friday, November 26, 2010

Around the neighhhhbourhood

It's around a half-kilometer walk to our mailbox, and sometimes there are a few critters I run into (last notable one being a frog that hopped across the road -- like real life Frogger!).

This time, it was a little bigger than a frog. Isn't he/she cute? It came right up to me as I was walking by, and if a big ditch wasn't there, I would've given that soft head a pat.

Wednesday, November 24, 2010

The Kitchen Floor: Part 2


With the orange waffles and wires in place, we moved on to mortar, lots of mortar -- 18 bags to be exact.  Each bag required 5 minutes of mixing, 10 minutes of rest, then another 3 minutes of mixing. I know this by heart now because I was on timer duty for each bag. I'd like to say I never want to see another bag of mortar, but we need another 8 bags for the mudroom and main bathroom. I guess we'll be pro mixers by then.

After mixing, it was on to laying down the tile. We used 12" x 24" Takla tile, in a brickwork pattern. Originally I had considered a herringbone pattern, but I think that would have been way more labour-intensive and difficult to align. 

We mortared over three days, and after that we were set for grouting. That was tackled in the evenings and took three nights -- much easier than the mortar, it was only 4 bags of charcoal grout.

Now we're all set for the appliances to be delivered, and the kitchen to be installed!


Monday, November 22, 2010

Character: Rough-skinned Newt

Characteristics: Grey with a groovy orange belly, so slow moving you think it's dead, can breathe underwater, may or may not sell Geico products.

I ran into this critter the other week while moving a few things out in the yard. Usually when I'm lifting things (tarps, wood, outdoor things) I expect to see bugs, slugs, worms...and the odd snake. This time, I came across a rough-skinned newt. Good thing I didn't decide to pick it up (I wondered if it was alive -- it hardly moved!) because it's highly toxic. So toxic that one thirtieth of the toxin present in the skin of this newt can kill a person!* You have to eat it, but I've read that just touching the skin can cause irritation.  So it's a no-go on cuddling with it.

*Thanks for that tidbit, Wikipedia. 

Saturday, November 20, 2010

Fall colour

Friday, November 19, 2010

The Kitchen Floor: Part 1

There were a two options with our kitchen floor: mix up a ton of levelling compound and pour it on the floor, then wait for it for it to cure; or try out this Flextherm product -- the orange waffle squares -- that would cut down on mess and time. The waffle squares were a big win because the wire for heating the floor clicks right into the little grooves, and holds them in place for tile over top.

There were over 1100 screws put into the floor to hold the waffles in place, and two rolls of wire were artfully applied (it was also a big puzzle getting it to fit). 30 days from now we'll be able to turn on the wires on and have warm floors.

Tuesday, November 16, 2010

Kitchen issue

While measuring for tile and heated floor wiring placement we used our kitchen plans to work around where cabinets would be installed -- and that's where we discovered a small 'blip' in the measurements and size of the base cabinet on the wall where the fridge will live.  Luckily we caught it (and it wasn't our fault!),  but it meant either having those cabinets that were built scrapped to fit the actual wall space and move our installation date, or bumping the wall out an additional six inches.  We weren't willing to move our install date, so out the wall went.  Fingers crossed this is the only major thing that goes wrong.

Saturday, November 13, 2010

Friday, November 12, 2010

Starting on the ceiling

 It's deadline time around here at the moment because our kitchen is slated to be installed November 24th.  After living almost a year and three months without a kitchen (and a sink) it feels like Christmas will be coming early for me.

We decided long ago that we wanted to have a v-groove ceiling throughout the house, and after a lot of searching we found primed MDF planks that would work nicely.  The installation wasn't too bad -- Trevor had to add supports in the joists that ran in a horizontal direction, and then it was a lot of time with arms above our heads tapping and nailing the planks into each other.
There will be an island and sink here soon!

Wednesday, November 10, 2010

One Sunflower

I planted fifty sunflower seeds in the spring, and thanks to the healthy weeds in the yard they choked out forty-nine of the seedlings.

Monday, November 8, 2010

Flooring: The hardwood

Well, here it is, the start of our hickory floors!  We went with a tavern-grade (or 'rustic') floor -- which means that these are all of the off-cuts and damaged pieces.  Most of the pile is full of shorts, around 12" in length, but there's the odd long piece that we've come across as well.

We decided on hickory since I'm a little challenged in the 'no damage' department.  It's inevitable that a plate will be dropped or a scratch to appear, thanks to me.  Hickory is one of the hardest hardwoods out there, so it should stand up nicely to the abuse I can inflict.  And, as a bonus, since we want a floor to look rustic and worn-in, all of my future accidents should add to the character of the floor.
The pile (one of many)
Around one of the windows in our bedroom
The scene
Sanding and staining are next up on the to-do list...I had ideas of using a dark stain, but now that we're seeing all of variety of pieces we're thinking of something a little less drastic.

Thursday, November 4, 2010

Character: The slug

We have quite the cast of critters around here that make looking out the windows and wandering around pretty entertaining.  In today's inaugural edition, I'm featuring friend and foe: the slug.  

Characteristics: Slow moving, plentiful, slimy, eats pretty things, found in high traffic areas (walkways, driveways, almost like it's asking to be squished).  

Tuesday, November 2, 2010

There was a vegetable garden this year


I think I was a little overzealous thinking that I could dedicate enough time to caring for a veggie patch properly while in full reno mode and having huge projects to do at work over the summer.  While sweetpeas, carrots and zucchini grew nicely, tomatoes, corn, sunflowers and pumpkins suffered.  Ah well, there's always next year.
Zucchini
Overgrown grapevines that have a mind of their own.


Friday, October 29, 2010

Drywall in the kitchen

This is one of my favourite spaces at the moment, because it's one area that's going to be semi-finished soon (semi as in no moulding, but floors, ceilings and cabinets!).  You'll notice there's no drywall on the ceiling -- that's being finished with v-groove MDF planks, which goes with our whole 'modern farmhouse' look.

Looking towards the front of the house, where a table will eventually be.
That wall will house cabinets and the fridge.

Wednesday, October 27, 2010

Scaffolding


Give Trevor a hammer, nails, and a ladder and he can be quite industrious.  All of this scaffolding is for new siding -- safety first!

Monday, October 25, 2010

Front door, mudroom door

What a difference a new front door makes, and here's the reminder:
Before
After
(The colour looks a little neon here, but it was just the sun hitting it.)

(And here's the mudroom door.)

Both doors were finished with Benjamin Moore's Aura paint, in Rosemary Green.    


Sunday, October 24, 2010

Now, where were we?

I had to look through the last few pages of posts to see where I should start from -- a lot has changed around here since I last posted.  I think I was bogged down with some of the boring tasks, like framing, that's really uninspiring to post about.  Now that I've mentioned framing, here's some photos of what the house looked like at the beginning of July (taken early in the morning before the insulators arrived, but after the plumbing exploded the night before when we were testing it):

Looking through the family room to the kitchen.
Entryway (ooo, mystery door!)
Upstairs, with the ugly handrail left so no one takes a header down the stairwell.
Master, complete with bathtub waiting to be installed.
Looking up, way up, to where the chimney used to be.  (Notice the silly diagonal they put it on, ugh.)
One of the dormers, and into the attic.
From the master, through the hallway to the bedrooms.
Master again, part of the bathroom, into a bedroom.
In the kitchen, looking towards where the sink will be.
Yup, pretty boring stuff -- but exciting for those who have imagination!

Friday, June 11, 2010

Babies on the Move


Mama duck's brood is down to five now (originally there were six little ducklings), but it looks like everyone is thriving and getting bigger!

Wednesday, June 2, 2010

Everything's Just Ducky


So let me start off by saying how excited I was to hear the 'peep peep' of BABIES!!!! yesterday while checking on the veggie garden. I stopped near the zucchini (which is one of the best growers in the garden so far) and peered into the pond to see the BABIES!!!! swimming with their mama. Today, mama has taken her brood of little fluffy balls on land, and I managed to snap that shot above.

Sunday, May 23, 2010

Drainage

We've come to expect unplanned projects around here (so far there's been an outbuilding demo, drywall demo, wiring upgrade, siding replacement...), so adding fixing the drainage around the house to the list was no surprise. Strangely enough, we don't freak out about these sorts of things -- it's all just part of the deal.

(Although talk to me if any more unplanned projects come up and I might have a different attitude.)

The original underground pipe that took the water away from the house had been crushed in the fall, and Trevor had done a panic dig to open up an area to let the water flow down to the ravine (I should also note here that he did his panic dig during heavy rain. Very dramatic.) Now that the weather is a little more on our side, it's a perfect time for things like this:

Trevor's in the orange digger...*ahem* excavator down there. (This is also the same excavator that a week ago dug a poorly placed hole over in the field and accidentally ripped up both the power to the well pump and the well line. Sorry Trevor, had to add that in!)

Just before we filled it in, here's the reference photo for the future, so no poorly placed holes find their way around here. Also, it's your first look at the back of the house in a while -- that crappy deck is coming off soon.